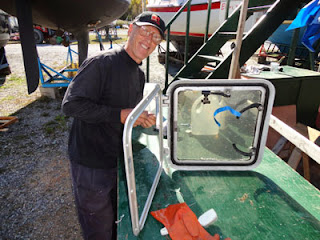
Grandpa
just left; we worked real hard these last three days. Last coat of varnish on the wood frames; quite pleasing.
Then
we moved on to the hatch installation job.
JF had underestimated the time needed to clean them prior to
installation, and that’s an important step:
The best sealer will only bond as good as the surface beneath it. So after a full day of cleaning (thanks
Germain!) they came right back to almost-new . Then it’s the install per se. In the case of hatchs, metal to metal and screwed in place, the strength and elasticity of Dow 795 and Sika 295 are overkill, we opt for Sika 291. Still not resitant to UV but it doesn’t matter, the joints will be painted with the deck.
The two smallest hatchs have a flange that penetrate the deck, on top of being all the way aft on the cabin top and protected behind the dodger: They’ll go in without mechanical fasteners, with the leftover tube of Dow 795 from this summer; No screws, no rust.
Then,
insulation: The tests we had run with
can sprayed insulation were conclusive:
Too long, too complicated, too expensive, to hard to get a consistant
result. We opted for plan B instead,
which proved excellent: A sheet of
insulation is cut to fit all the holes, very tight and hard to get. Then you remove them and shoot can sprayed foam
behind and close back up. Fill in the
cracks with the leftover.


What you have done on this vessel is nothing short of amazing!! So exciting to see your progress. You are all very skillful and patient beyond compare. Love you all, Mom and Grandma
ReplyDelete